


Backyard Pizza Oven Tips for Perfect Crust
Welcome to The Sizzle, the Prime Grill Shop blog dedicated to helping you master outdoor cooking and backyard entertaining. From pizza ovens and premium grills to expert cooking techniques and buying guides, we help you choose the right equipment and create unforgettable experiences around the flame.
The Backyard Pizza Oven Playbook: 5 Tips for a Perfect Crust Every Time
There is something almost primal about sliding a fresh pie into a roaring backyard pizza oven. The smell of burning wood or the hiss of the gas flame, the sight of the cheese bubbling in seconds, and that first, crunchy bite: it’s an experience that a standard kitchen oven just can’t replicate.
However, if you’ve ever pulled out a pizza that was burnt on the bottom and raw in the middle, or a crust that felt more like a cracker than a cloud, you know there’s a bit of a learning curve. Achieving that perfect "leopard-spotted" crust requires a mix of science, technique, and the right gear.
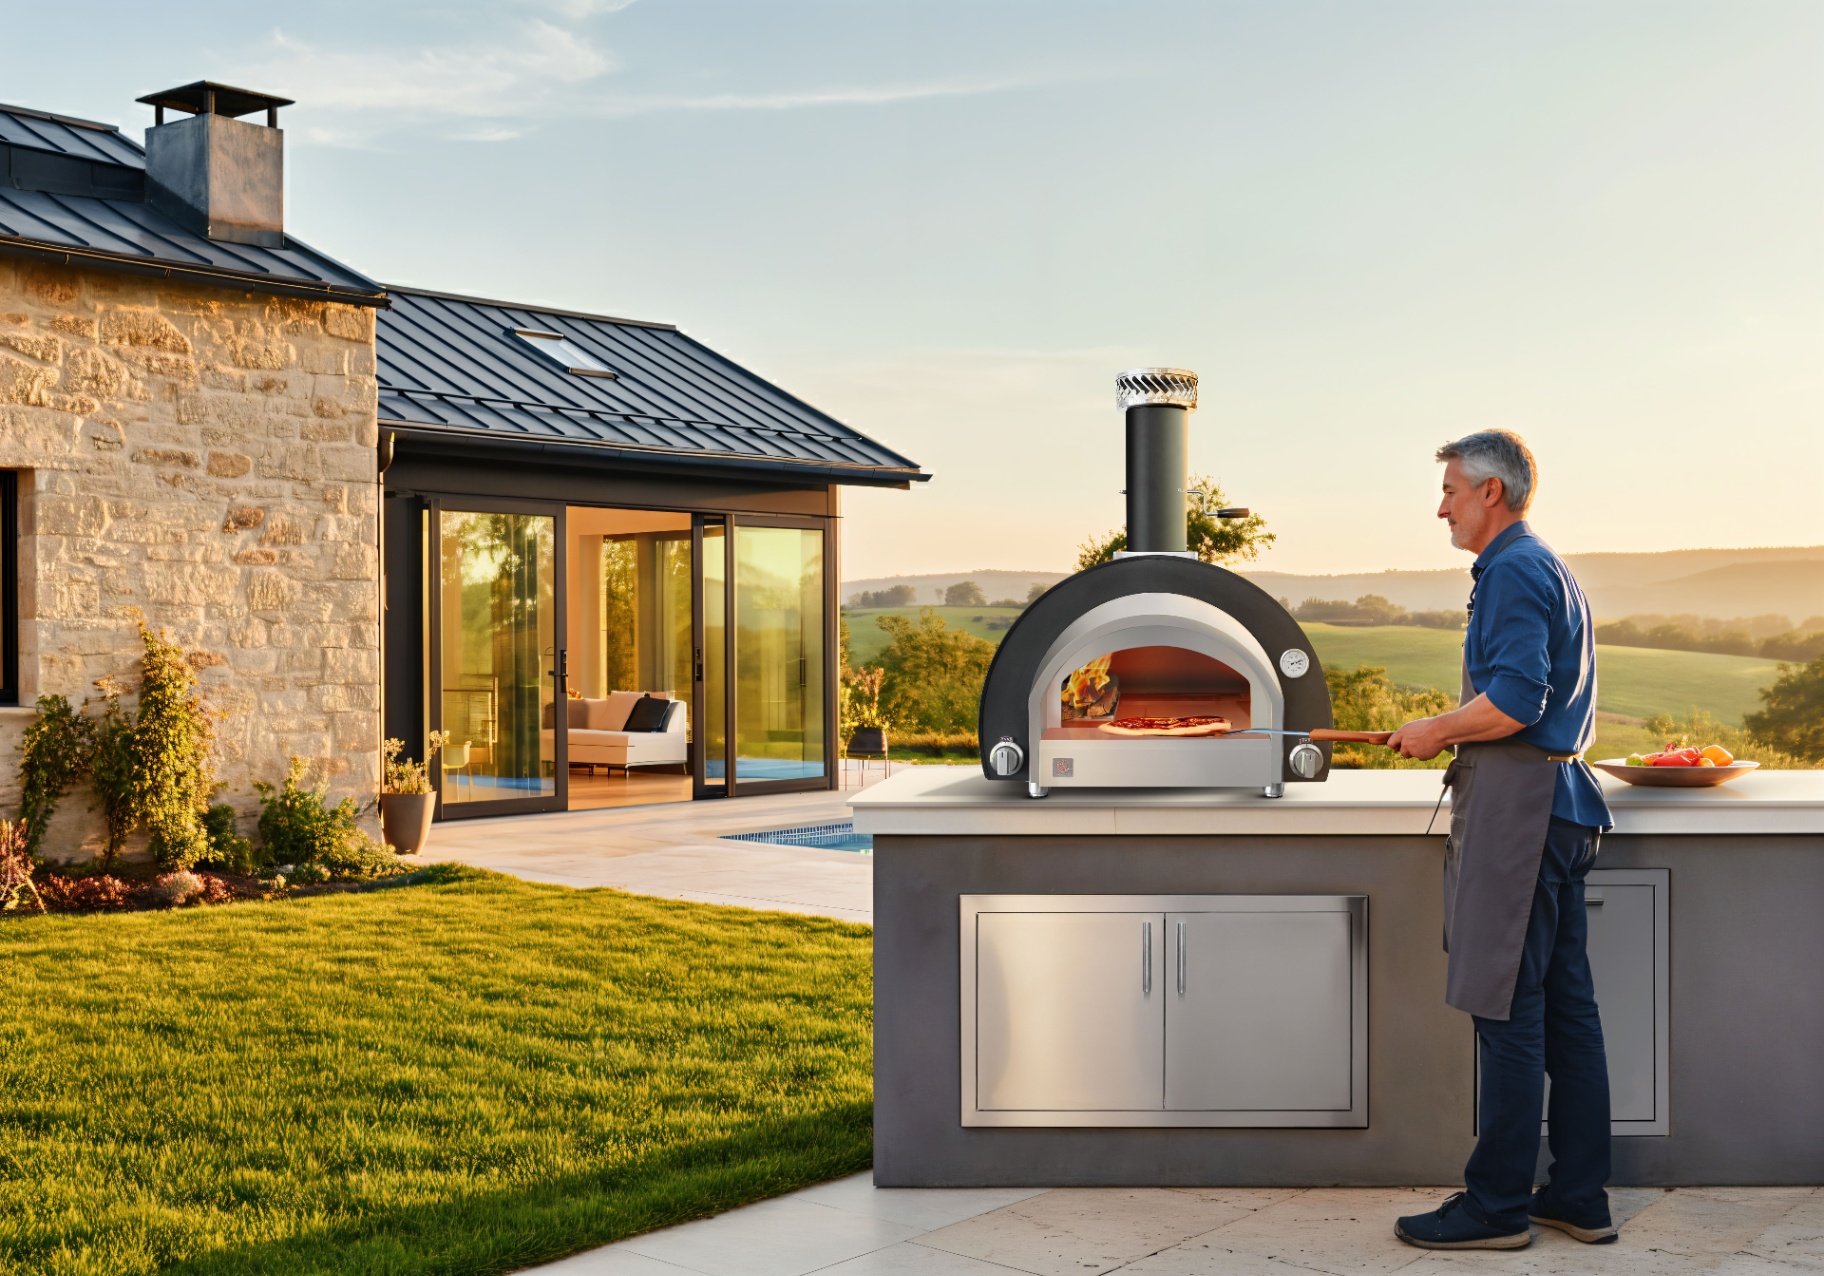
Whether you are using one of our wood-fired pizza ovens or a convenient gas pizza oven, these five tips will help you master the flame and deliver a perfect crust every time.
The Art of the Perfect Dough
Great pizza starts long before you light the fire. Your dough is the foundation, and the "secret" isn't just the ingredients; it’s the ratio and the time.
First, let’s talk hydration. This is the ratio of water to flour. For a high-heat backyard pizza oven, you generally want a hydration level between 55% and 80%. A higher hydration (more water) often leads to a lighter, airier crust with big bubbles, but it can be stickier to handle. If you’re just starting, aim for around 60-65% for a balance of ease and texture.
Next, give it time. Cold fermentation is your best friend. After mixing your dough, let it rest in the fridge for 24 to 48 hours. This slow rise allows the yeast to develop complex flavors and breaks down the starches, resulting in a crust that browns beautifully and tastes like professional sourdough.
When it’s time to cook, leave the rolling pin in the drawer. Rolling pins squeeze out the precious air bubbles you’ve worked so hard to create. Instead, use your hands to gently stretch the dough from the center outward. This preserves the structure, giving you that iconic chewy, airy rim (the cornicione).

Dialing in Your Temperature
If you take away only one thing from this playbook, let it be this: preheating is not optional. Your oven might feel hot after ten minutes, but the cooking surface: the stone: takes much longer to soak up that heat.
Most pizzas thrive in an environment between 450°F and 900°F. For a classic Neapolitan style, you want to be on the higher end of that spectrum. At 850°F, your pizza will cook in about 60 to 90 seconds. This intense heat traps steam inside the dough instantly, causing it to puff up while the outside crisps.
How do you know when it's ready? Don’t trust the built-in thermometer on the oven door; that only tells you the air temperature. Invest in an infrared thermometer gun. Point it directly at the center of the pizza stone. You want the stone itself to be at your target temperature before the first pizza "launches." At Prime Grill Shop, we always tell our customers that the stone temperature is the single most important factor for a crispy bottom.
Picking the Right Surface
The material you cook on acts as the heat engine for your crust. Most backyard pizza ovens come with a ceramic or cordierite pizza stone. These materials are fantastic because they are porous; they wick moisture away from the dough as it cooks, which is exactly how you get that crunch.
If you are looking for even more intense browning, some enthusiasts swap their stones for pizza steels. Steels conduct heat much faster than stone, which can lead to an even crispier crust, though you have to be careful not to burn the bottom at ultra-high temperatures.
Positioning matters too. If your oven allows for adjustments, keeping the stone in the middle of the rack usually provides the most balanced heat. If the stone is too close to the flame, the bottom will burn before the toppings melt. If it's too far, you'll end up with "soupy" toppings and a pale crust. If you're unsure about your specific setup, check out our FAQs or reach out to us for gear-specific advice.

Speed and the Perfect Turn
In a high-heat pizza oven, things happen fast. We’re talking "don't-blink" fast. Because the heat source is usually at the back or the side of the oven, one side of your pizza will cook much faster than the other.
To prevent a half-burnt, half-raw disaster, you need to master the turn. About 30 to 45 seconds into the bake, use a turning peel to rotate the pizza 180 degrees. You want to see the crust just starting to set and puff before you move it.
Timing is everything. A thin-crust pizza in a 800°F oven is a 90-second affair. If you’re cooking a thicker "grandma style" or loaded "everything" pizza, you'll want to drop the temperature to around 500°F and extend the cook time to 5-8 minutes so the middle can cook through without the exterior turning to charcoal.
Pro Tip: To ensure a smooth launch, sprinkle a little finely ground cornmeal or semolina flour on your pizza peel. It acts like tiny ball bearings, helping the dough slide off the peel and into the oven without sticking.

Airflow and Clean Stones
Airflow is the unsung hero of outdoor cooking. For a backyard pizza oven to maintain those blistering temperatures, it needs to breathe. If you are using a wood-fired model, make sure your chimney dampener is open and you aren't overcrowding the firebox. Proper airflow ensures the heat circulates over the top of the pizza, melting the cheese at the same rate the stone cooks the crust.
Maintenance also plays a huge role in crust quality. Over time, bits of flour, cheese, or sauce will inevitably spill onto your stone. This debris can burn and create bitter smoke that ruins the flavor of your next pizza.
To keep your stone in top shape:
- Never use soap: The stone is porous and will absorb the taste of Dawn. Not delicious.
- The High-Heat Clean: Most of the time, you can simply flip the stone over before your next session. The high heat will "burn off" any organic residue, leaving it clean for the next bake.
- Scrape gently: Use a stainless steel bench scraper to remove any stuck-on bits once the stone has completely cooled.
The Finishing Touch
Once you’ve mastered the 90-second bake and your guests are raving about the "best pizza they've ever had," it’s time to think about the rest of the experience. After a heavy, savory meal of wood-fired pizza, there’s nothing quite like a professional-grade espresso to round out the evening. For the best in high-ticket espresso machines and coffee grinders, we always recommend checking out our friends at Prime Brewing Co. (www.primebrewingcompany.com) to complete your outdoor kitchen suite.
At Prime Grill Shop, we believe that the "Prime Difference" is all about the quality of the moments you create. Whether you're a seasoned pro or just unboxing your first oven, remember that practice is part of the fun. Your first pie might not be a masterpiece, but by the fifth one, you’ll be the neighborhood’s favorite chef.