


Smashburger Secrets: Pro Griddle
Welcome to The Sizzle, the Prime Grill Shop blog dedicated to helping you master outdoor cooking and backyard entertaining. From pizza ovens and premium grills to expert cooking techniques and buying guides, we help you choose the right equipment and create unforgettable experiences around the flame.
Why Smashburgers Hit Different
There's something almost magical about a smashburger. That thin, crispy patty with lacy caramelized edges. The juicy center that somehow stays perfect despite being pressed paper-thin. The sizzle when it hits the flat top.
Here's the thing: you don't need a fancy diner setup to nail this. You need the right technique, the right heat, and the right gear. And if you've got an outdoor gas griddle sitting on your patio? You're already halfway there.
Let's break down the smashburger secrets the pros don't want you to know. (Just kidding, they totally want you to know. Smashburgers are meant to be shared.)
The Science Behind the Smash
Before we get into the how, let's talk about the why. Why does smashing a burger make it taste so incredible?
One word: Maillard reaction.
When beef hits a screaming-hot surface and gets pressed thin, maximum meat-to-metal contact happens. That contact creates the deep browning, the crispy texture, and those complex savory flavors you can't get any other way.
A thick, gently-placed patty? It steams. It stays gray. It's fine. But a smashed patty? It transforms into something legendary.
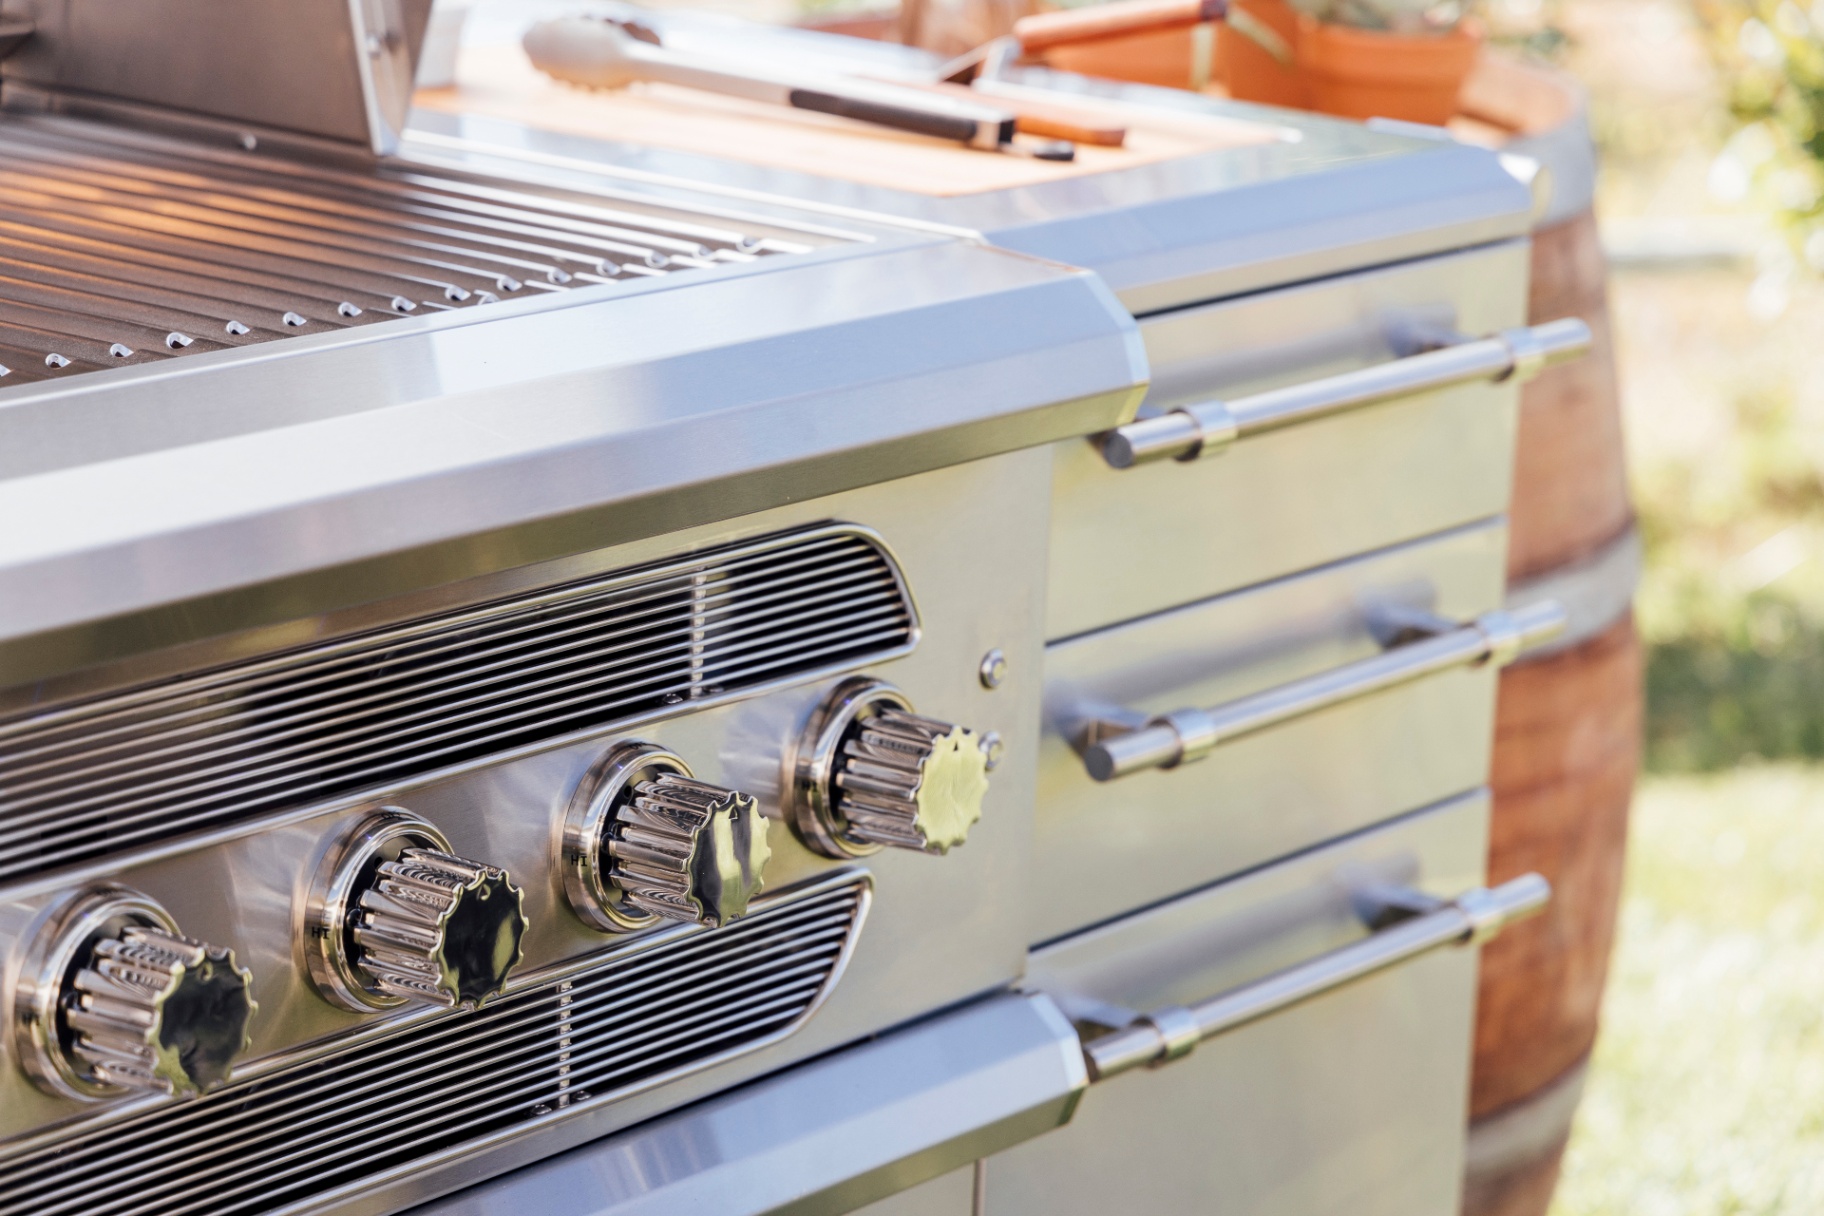
Gear Up: The Right Griddle
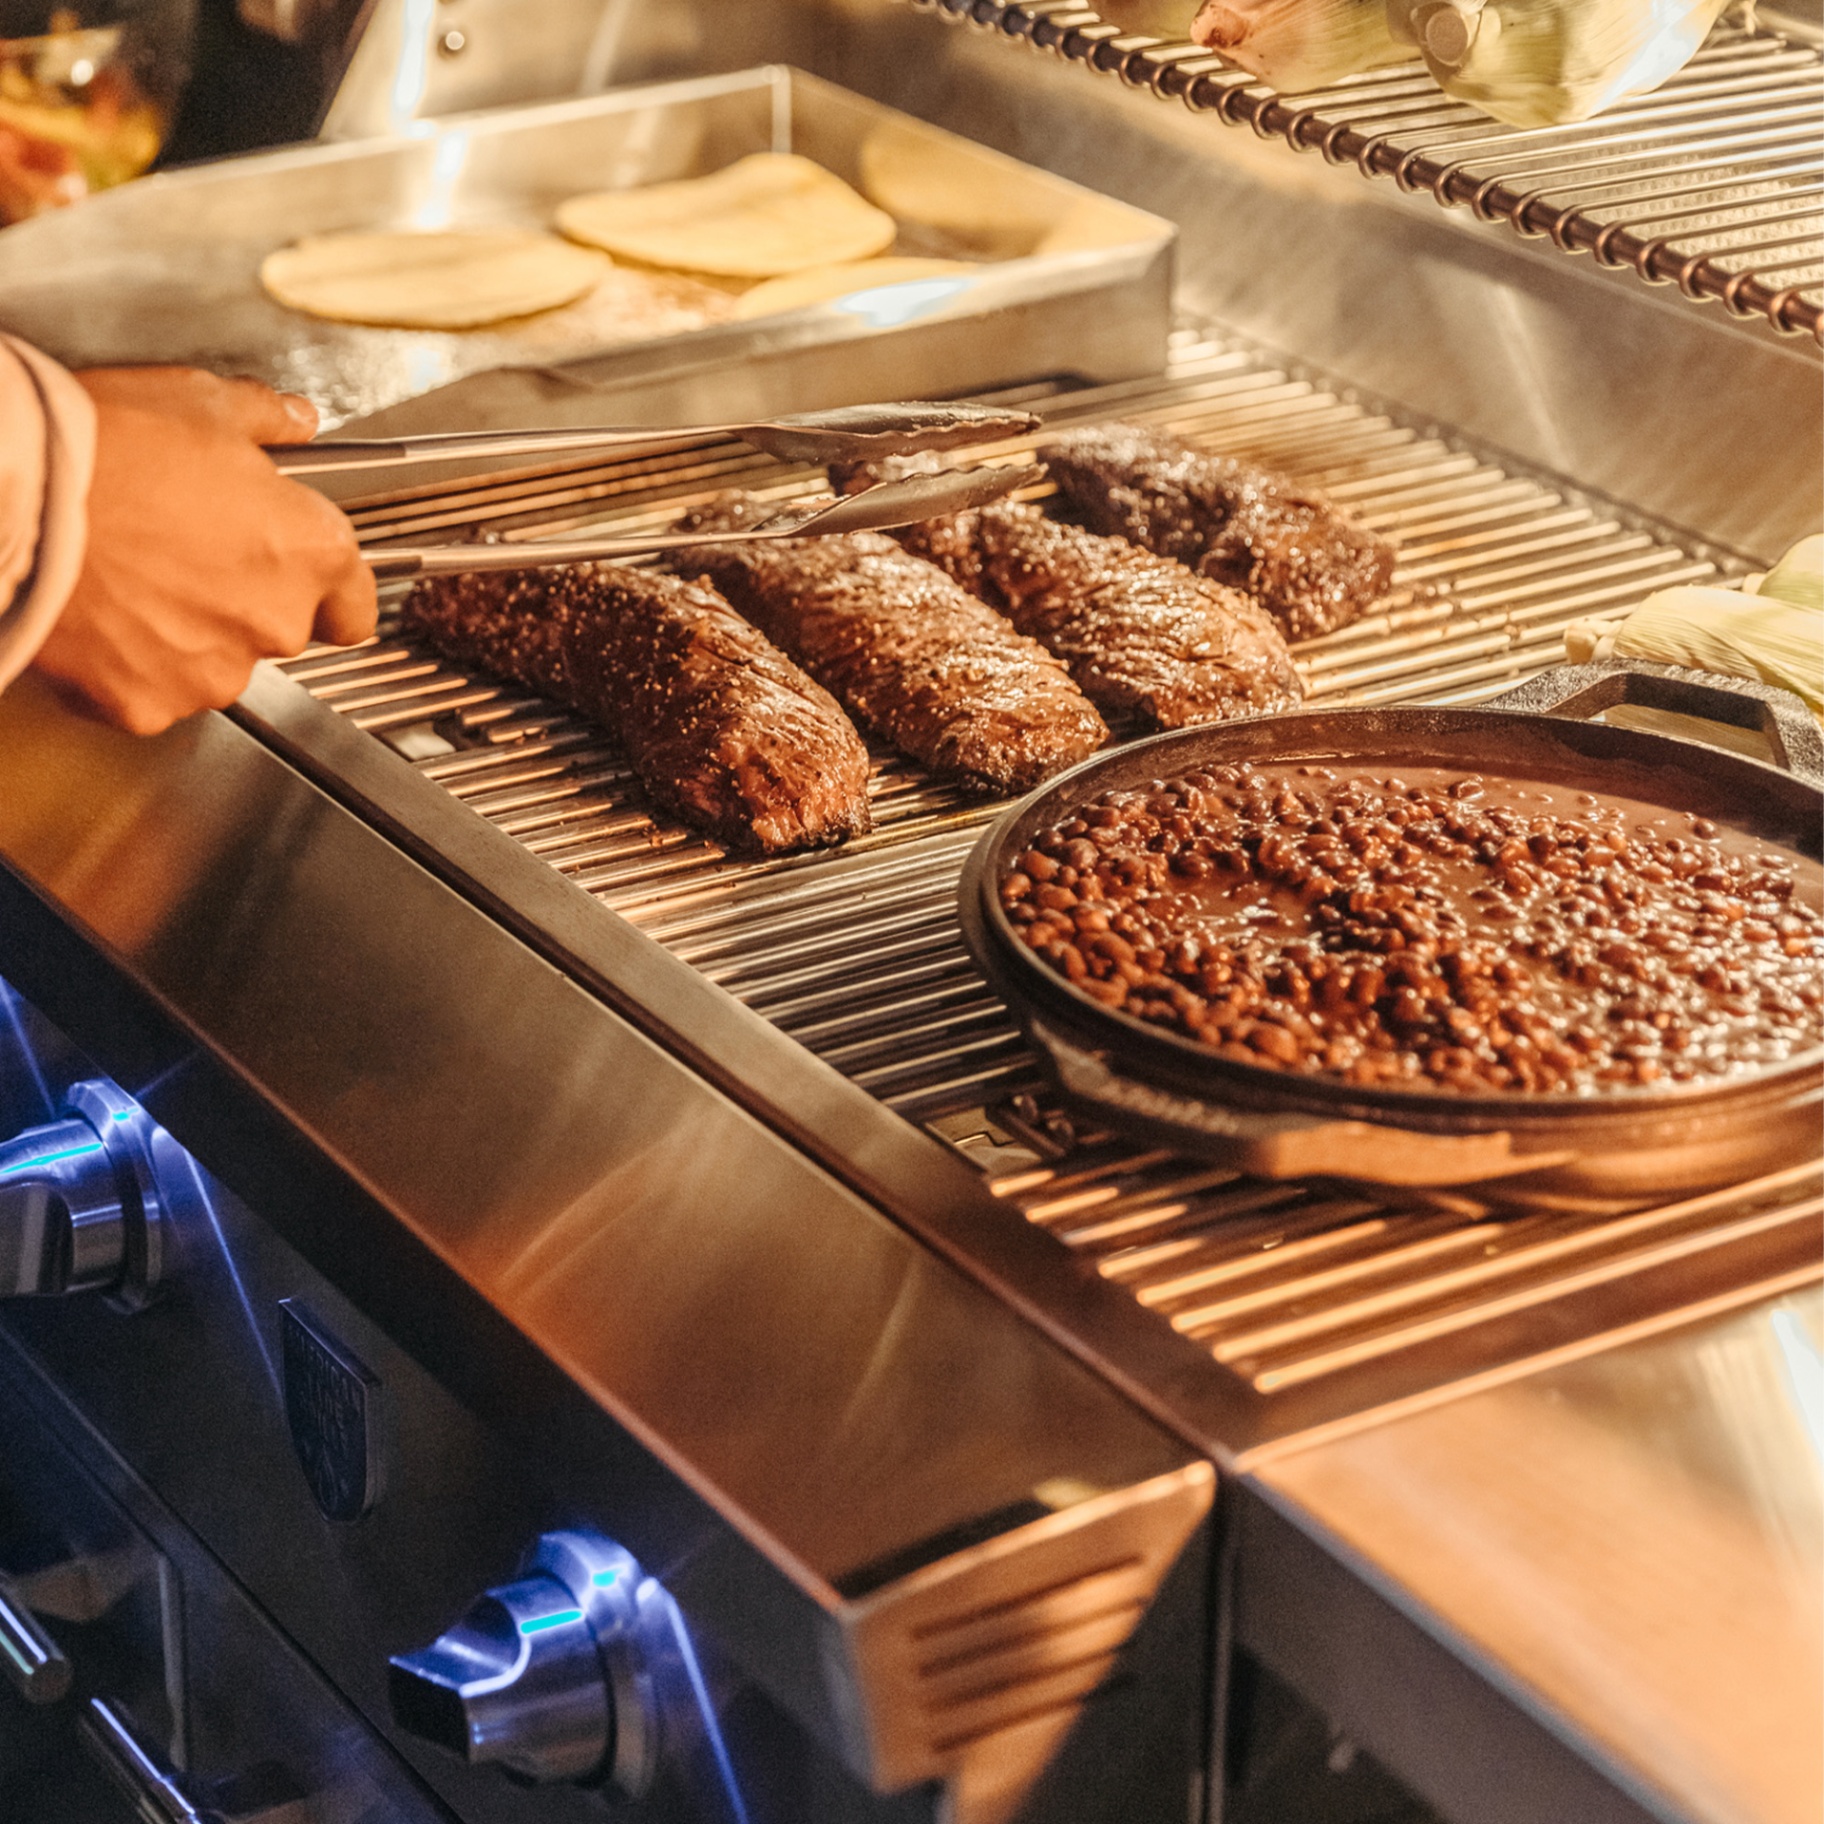
Let's talk equipment. You can technically smash a burger on a cast iron pan, but if you're serious about this, and we know you are, a gas outdoor griddle is the move.
Why? A few reasons:
Surface area matters. With a proper outdoor griddle, you've got room to cook 4, 6, even 8 burgers at once. No crowding. No steaming. Just sizzle.
Consistent heat. A quality gas griddle maintains even temperatures across the entire surface. No hot spots, no cold zones, just reliable performance.
Easy cleanup. Scrape, wipe, done. No hauling cast iron inside to scrub.
If you're cooking for a crowd regularly, consider checking out the largest outdoor griddle options available. More space means more burgers, and more burgers means more happy people. Simple math.
Temperature: The Non-Negotiable
Here's where most backyard cooks mess up: they don't get the griddle hot enough.
For perfect smashburgers, you need your outdoor gas griddle cranked to 500-550°F. Yes, seriously. This isn't a typo.
Give your griddle a solid 10-15 minutes to preheat. Don't rush this step. That screaming-hot surface is what creates the signature crust. If you slap beef on a lukewarm griddle, you'll get a sad, gray patty. Nobody wants that.
How do you know it's ready? Flick a few drops of water on the surface. If they dance and evaporate instantly? You're in business.
The Beef: Keep It Simple
Don't overcomplicate this. You need:
- 80/20 ground beef (that fat content is crucial)
- 3-5 oz portions formed into loose balls
- Salt and pepper
That's it. No breadcrumbs. No egg. No Worcestershire sauce. Just beef.
The 80/20 ratio gives you enough fat to render out and essentially fry the edges of your patty. Leaner beef dries out. Fattier beef gets greasy. 80/20 is the sweet spot.
Pro tip: Handle the meat as little as possible. Form loose balls, don't pack them tight. Overworked beef gets tough and dense. You want that loose texture so the patty stays tender after the smash.
The Smash: Technique Matters
Alright, here's where the magic happens. You've got your ripping-hot griddle. You've got your loose beef balls. Let's do this.
Step 1: Place and Press
Drop a beef ball directly on the griddle. Immediately: and we mean immediately: press it flat with a stiff spatula or burger press.
Use parchment paper between your tool and the meat to prevent sticking. Press firmly for 5-10 seconds until the patty is about ¼ inch thick.
Don't be gentle. Channel your inner frustration. Really lean into it.
Step 2: Season and Wait
Once smashed, hit that patty with a generous sprinkle of salt and pepper. Now leave it alone.
Cook for 60-90 seconds. You're looking for deep brown, crispy edges. You'll see the Maillard reaction happening in real-time: the edges will turn dark and develop that signature lacy texture.
Step 3: The Flip
Here's where a bench scraper or stiff spatula becomes your best friend. Get completely under the patty to capture all those crispy, caramelized bits stuck to the griddle. That's flavor gold: don't leave it behind.
Flip the patty. Do not smash again. The first smash is the only smash.
Step 4: Cheese and Finish
Add your cheese immediately after flipping. Cook for another 30-45 seconds, just enough to melt the cheese and finish the second side.
Total cook time? 3-5 minutes. That's it.
Common Mistakes to Avoid
Even with the right gear and technique, there are a few ways to mess this up. Avoid these rookie errors:
Not hot enough. We said it before, we'll say it again. 500-550°F. Preheat longer than you think you need to.
Smashing too late. You have a tiny window. The beef needs to be smashed immediately after hitting the griddle. Wait too long and you're just pressing cooked meat.
Double smashing. One smash. That's it. Pressing the patty on the second side squeezes out all the juice you worked so hard to keep.
Overcrowding the griddle. Give each patty space to breathe. If you're cooking a lot of burgers, work in batches or upgrade to the largest outdoor griddle that fits your space.
Using lean beef. 80/20 or go home. The fat is what makes this work.

Level Up Your Setup
Once you've mastered the basic smashburger, you can start getting fancy:
- Double stack two thin patties for extra meat-to-cheese ratio
- Add caramelized onions cooked right next to the burgers on your griddle
- Toast your buns on the flat top with a little butter
- Try different cheeses: American melts best, but smoked gouda hits different
The beauty of a gas outdoor griddle is the versatility. You've got all that real estate to cook proteins, toast bread, and prep toppings simultaneously. It's a one-stop burger station.
Ready to Smash?
Now you've got the smashburger secrets. The technique. The temps. The gear knowledge.
All that's left is to fire up your griddle and start cooking. Trust us: once you nail your first batch of crispy-edged, perfectly-seared smashburgers, you'll never go back to thick pub-style patties again.
Need to upgrade your outdoor cooking setup? Browse our full collection of outdoor griddles to find the perfect fit for your backyard. Free shipping on every order, plus our signature Prime Service.
Now get out there and smash some burgers.